Life on the X-Bar Ranch...

I am an ordinary woman, with an amazing family, serving an awesome God.
Showing posts with label recipes. Show all posts

Tuesday, August 13, 2013

Choke Cherry Jelly

I enjoy canning. It is a lot of work, especially for some things, but I enjoy it anyways. Looking at those rows of jars...hearing the 'pop!', it makes me happy. And it is beautiful. Always make beautiful things. Life is too short to live ugly.

I moved to a ranch house along the creek bottoms about two years ago, and this place is loaded with choke cherries. They grow in my yard and along the bridge over the creek. I had never tasted or used them before we moved here, but I quickly decided that I will not let any free food go unused...least of all fruit! So. I perused Pinterest, recipe books and Google for a chokecherry jelly recipe. And I found some. Problem was, they all are different, and some don't work right. Finally I found two and kinda combined them to come up with my own that is pretty much perfect. At least in my opinion. :)

The method is pretty easy, actually. At least the way I do it.

First, have your kids pick the cherries. :)

 Some are redder and some are blacker. I don't know why.
 Then you wash them. I stir them around so the leaves and junk can come to the top. Then I scoop the trash out with my spoon.
Drain. You will notice there are some green berries in my bowl, and the tiny stems are all still on. Its OK. They really don't matter. The pioneers used a certain portion of green berries in their jam instead of pectin. I don't recommend that route. I tried it and was sadly disappointed.
Put in a large kettle and fill with water till the cherries are just covered.

 Simmer about 30-45 minutes, or until the juice is dark red. I confess I have never timed this. I'm bad about cooking by feel...


Drain the juice in a large bowl,

 Wow! The kids an I picked about 4 gallons, and got a gallon of juice! I see lots of jelly in my future... If you don't have time to make it into jelly right now - you can store the juice in the fridge a few days.
You should have your jars and lids ready before you start the jelly process...
 
 Then you pour 3 1/2 cups juice into a large kettle. It will boil up considerably, so make sure the kettle is big enough. Add the lemon juice and pectin. Stir. Bring to a boil.


 When the juice is boiling, add the sugar. Bring to a rolling boil (boiling so hard you can't stir it down) and continue to stir as it boils for 2 minutes. (This is where it will boil up and up and up. I boiled over two kettles of jelly on my stove. Please don't be that stupid. Burnt on jelly is HARD to clean off. )
When the 2 minutes are up, you can skim the foam off if you like. It doesn't have to be skimmed off, but looks prettier/clearer if you do.
 Then you ladle it into jars, leaving 1/2 inch head space.
 when the jars are full, wipe the rims with a clean cloth. (They might not seal if they have jelly splatters.)
 Place a lid on each one...
 ...and a ring. Tighten to fingertip tightness. In other words, just tighten them with your fingertips, don't use all the force in your being! :)
 Place them in a hot water bath. The boiling water should be about an inch over the jars.
 Bring the water in the canner to a boil and let it boil for 5 minutes. If you live above 3,000 ft seal level, you need to check your county extension to see what the recommended processing time is for your area. I live at 6,000 ft, and I need to process them for 10 minutes. Then you remove the jars to cool. If the jelly isn't set, I recommend not disturbing the jars for at least 24 hours. The pectin takes time to work.
 Last but not least, stand back and admire your hard work!
 And go make some room on your shelves for some yummy jelly!
 
Note:: This picture is of a double recipe. One recipe yields about 5 pints.
 
 
Chokecherry Jelly
3.5 cups chokecherry juice
1/2 cup fresh lemon juice
1 pkg dry pectin (1.75 oz)
4 1/2 cups of sugar
 
Pour juices in kettle.
Add pectin, stir.
Bring to a boil, add sugar.
Boil and stir for 2 minutes.
Remove from heat, skim.
Ladle into jars.
Process in hot water bath for 5 minutes.
Cool undisturbed for 24 hours.
 
Here's the pectin I use: 


Pin It

Monday, September 10, 2012

Easiest-ever Donuts


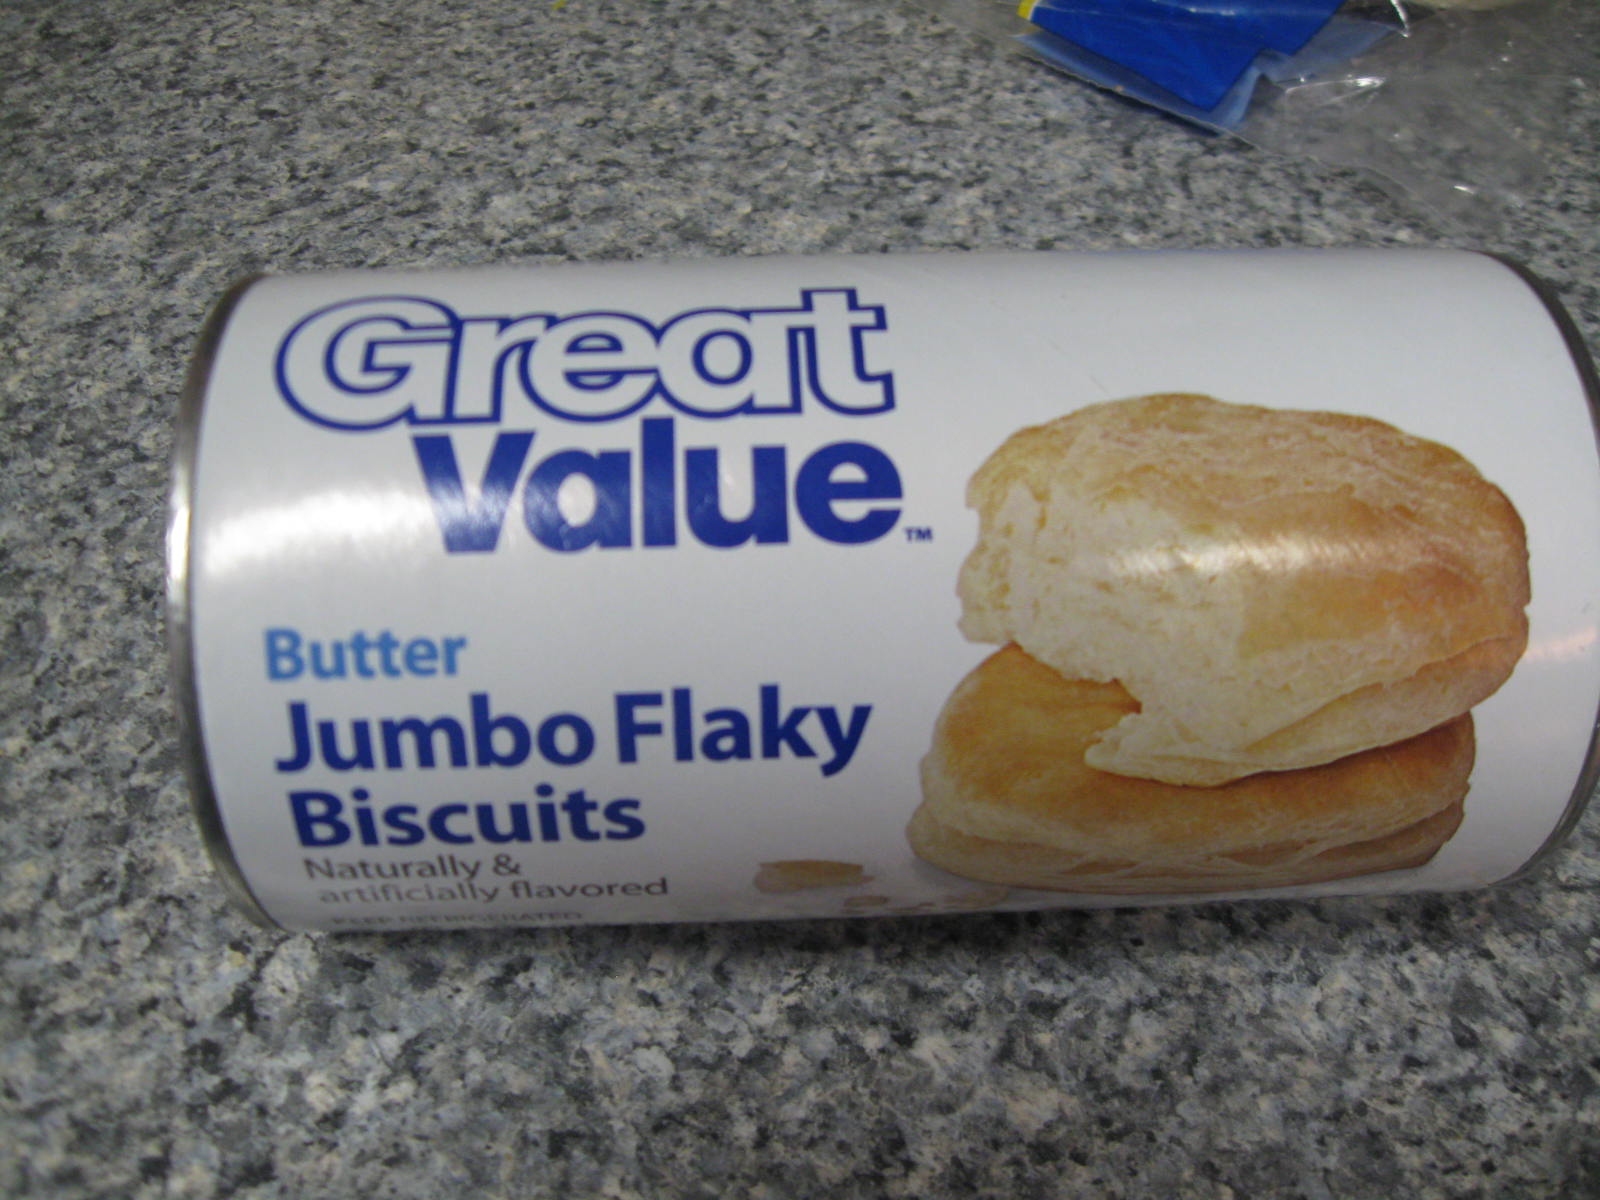
 Take a can of cheap-o biscuits.
Heat 1/2 inch of oil in a pan over medium heat.
 Mix up a dish of cinnamon-sugar. Just dump, girl.
 Melt a 1/4 cup butter in a dish big enough to hold a donut.
 
 
Wash a prescription pill bottle, and use it to cut out the donut holes.
Just kidding! ...you can use whatever you have. :)

  Fry the donuts a few minutes on each side - till golden brown. Drain on paper towels a bit - then dip in butter. Now dip in cinn/sugar mix and stack on a plate. Done!
 And try to grab one or three before your family devours them all!!
 Seriously - I never expected them to be so  delicious.
 Finger-lickin' good.

And that's my delicious-not homemade-fattening-preservative-laden-DIY-delicious tip of the day.
And I am not apologizing. :)  I may or may not have another can of biscuits in the fridge, waiting to be made into donuts. Hot, yummy donuts in 15 minutes?? Oh yeah. I'm on board!

Sunday, February 26, 2012

No~Bake Cookies

I have always loved these easy cookies. I mean - it's kinda cool to make a cookie without baking, right? They are good to remember when your oven quits working, or you can't have gluten, (oats are gluten-free) or if you can't seem to bake cookies without burning them! (Just kidding on the burning part. I know you can bake cookies without burning them - that's just me that burns cookies, right? ) Anyways. I love easy recipes! Just dump and stir. This recipe is full of chocolatey-gooeyness. Yum.

First, you throw a stick of butter into a pan over medium heat. Let it start to melt...
 Then add 2 cups of sugar. Yes, I know it is a lot of sugar - please add it all! You won't regret it.
 Dump in a 1/2 cup cocoa powder.
 Add 1/2 cup milk.
 Stir it all together.
 I used a whisk to get it a little smoother. It does not have to be perfect - a few lumps are ok. Let it bubble up and boil for a minute. Please use a timer for this step. If you let it cook too long, it will harden into crystallized lumps. (ask me how I know)
After it boils for one minute - remove pan from heat and add your oatmeal...

 Plop in the peanut butter...
 Pour in some vanilla...
 ...and stir it good.
It's ready! Drop by spoonfuls onto a sheet pan lined with waxed paper or plastic wrap. Did you know after cooking for upwards of 20 years, I bought my very first roll of waxed paper this month? I don't know how I lived without it so long. Please go buy some waxed paper. It makes life so much easier.
 They need to cool off and firm up. Try to keep the kids and husband away for an hour or so. (Good luck with that.)
 Dig in!

No-Bake Cookies

1/2 cup butter (1 stick)
2 cups sugar
1/2 cup cocoa
1/2 cup milk
1/2 peanut butter
3 cups oatmeal
1 teaspoon vanilla

Melt butter in pan over medium heat.
Add sugar, milk, and cocoa. Bring to a boil for one minute.
Remove from heat and add oatmeal, peanut butter, and vanilla.
Stir well. Drop by tablespoonfuls onto a lined baking sheet.
Cool 1 hour. Makes 24.